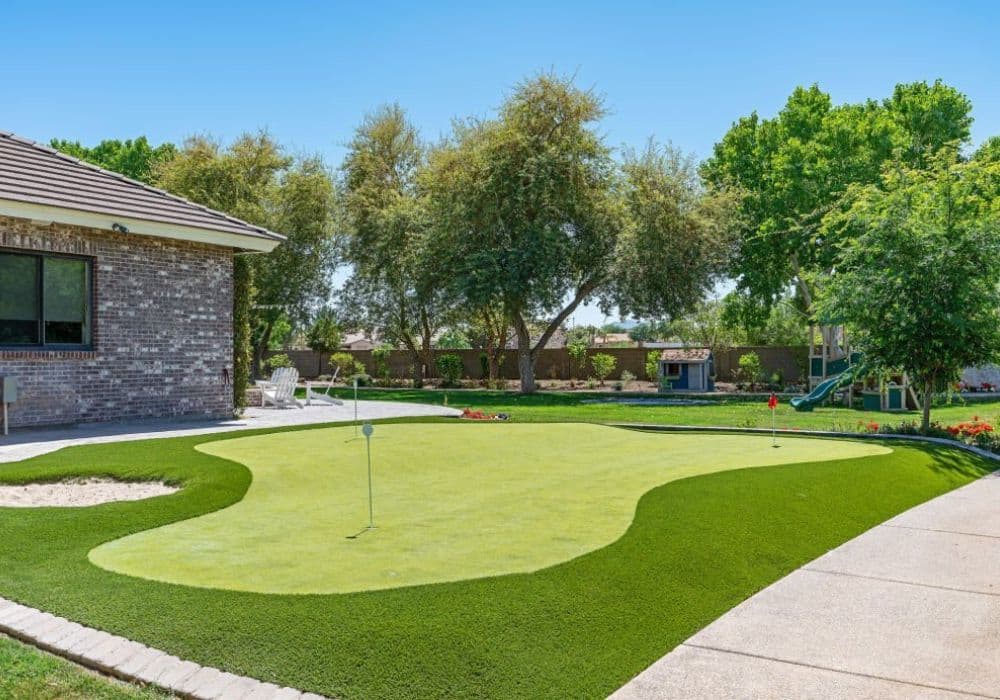
A Guide To Installing The Best Putting Green & Artificial Grass
If you’re looking to install putting greens in your backyard by yourself, here is everything you need to know, from the materials required to the finishing touches.
Tools Recommended
There are many tools required for the installation of artificial grass. Having the right equipment ensures a professional result that will last for years.
Seam tape
Shears for cutting
Utility knife
Rubber mallet
Shovel
Broom and dustpan
Trimming scissors
Wheelbarrow
Sod cutter
Vibrating plate compactor
Rake
Glue
Tape measure
Push broom
Stakes
Water hose
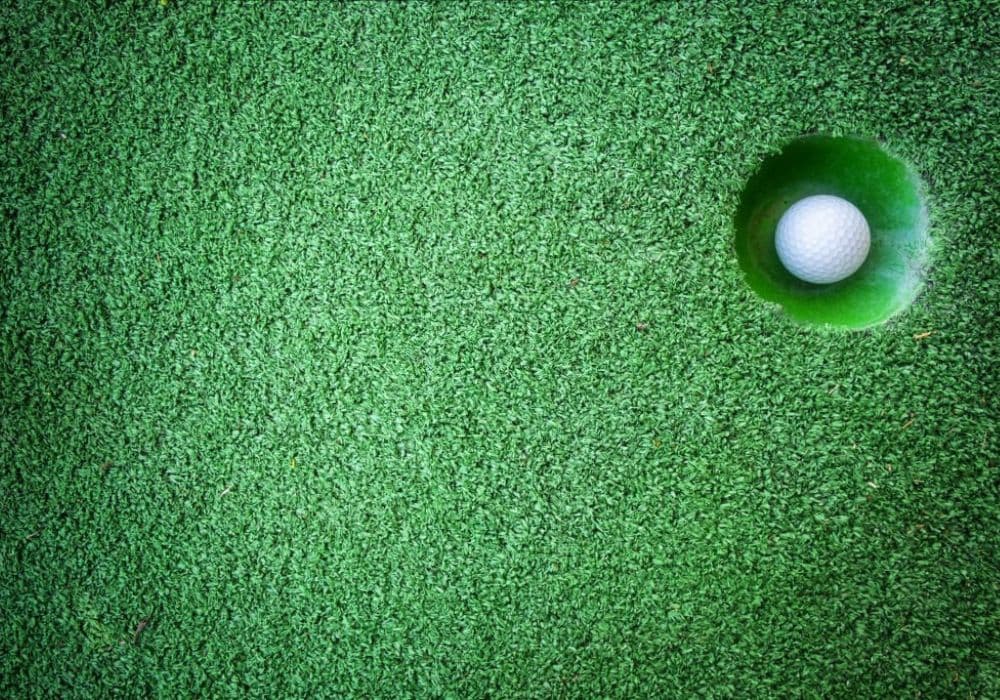
Don't forget: At the end, you’d need the top artificial grass equipment, such as flags, poles, golf cup caps, and ball return systems.
List of Materials
- Putting Green Artificial Grass
- ¾” Road Base (3/4″ rock down to dust)
- ¾” Clear Crush (drain rock) for poor drainage
- Seam Tape and Glue (if required)
- 4″ galvanized spiral turf spikes
- Bagged infill of choice
01
Chalking Out A Plan For Your Turf
- 1Calculate how much putting green you’re going to need for your project by measuring the area.
- 2Make a lawn layout based on 15′ widths, then paint a line through the designated area.
- 3To a depth of 4 to 12 inches, depending on drainage and location, remove any existing landscaping (sod, soil, etc.).
- 4In order to deflect water away from the foundation, rake out the exposed subbase and slant the earth.
- 5Before putting in your foundation materials, compress your sub base to settle any loose spots.
02
Building a Proper Base
- 1Place 4-12″ of -34″ road base all around your installation location.
- 2To get the optimum foundation form, rake the road base out evenly.
- 3Use the hose to water your foundation until it is evenly moist.
- 4In order to generate a smooth surface, use the plate compactor in a swirling manner from the outside in while overlapping your route.
- 5When you surface the area, any flaws in the foundation will be visible, so use the plate tamper to smooth out any corners and eliminate any lines left over by the compactor.
- 6Keep your base height 12″ below the level of concrete pathways or pavers if your turf butts up against them.
03
Laying Out The Surface Properly
- 1To prevent upsetting the base, properly place and roll out your initial roll.
- 2Place the turf facing the house’s rear or the street for the prettiest appearance (front yard).
- 3Cut the edge of your lawn in along edges or around things with a utility knife’s sharp blade (trees, garden beds, decks, etc).
- 4For a faultless appearance to your edges, keep your gaps to a maximum of 1/4″.

04
Preparing and Cutting Your Seam
- 1Place the second roll of grass as close to the desired location as you can.
- 2To reduce extra backing in your seam, flip the edges over and cut the final three tufts on each side of the seam, keeping the blade closest to the tuft on the main piece.
- 3Align your pieces once the edges have been cut off so that the tufts are placed at the same distance apart as they are on your turf (1/8″ - 1/4″ space).
- 4Check your alignment one again and spike both parts into position. Prior to glueing, make sure your joint is perfect since once the glue is down, you only get one chance.
- 5Fold back both parts 8–10″ and place seam tape in the middle of your seam.
- 6Using a spreader, uniformly apply seam glue to the seam tape, wiping away any puddles and ensuring that there are no dry areas.
05
Laying The Seam
- 1Bring the two strips of grass together evenly like a zipper and put them down together, keeping the fibres straight and free of glue, starting at one end.
- 2Be patient and pay special attention to how far apart the seams are. In this phase, persistence is really essential.
- 3Apply hard pressure as you put out each section to make sure the adhesive makes solid contact with the turf’s backing.
- 4Choose any fibres that are stuck by rubbing your fingertips along the joint.

06
Spiking The Turf
- 1Place 4″ galvanised spikes every 3″ on either side of a seam and every 10–12″ all the way around the edge of your work area.
- 2For best results, the spike should be placed between 1/4″ and 1/2″ from a joint’s or perimeter’s edge.
- 3To separate the fibres, use the spike’s tip. Keep the support exposed while tapping the spike with your fingertips until it is flat against the turf.
- 4Avoid striking the spike too forcefully since doing so will produce dents in your base that will be visible after your turf is filled in.
07
Infilling The Turf
- 1Brush the fibres upright if your lawn is flat before adding filler.
- 2Fill a drop spreader with empty infill bags, then distribute it evenly over your setup area according to the recommended infill instructions.
- 3Once the space has been filled in, take care around high and low points. Broom over high places and fill in the low ones with material.
- 4Work progressively in the opposite direction of the fibres using a power broom (or stiff bristle push broom) to allow the infill to sink all the way into the grass.
- 5For recommended pounds per square foot, refer to the product and infill guidelines.

08
Putting The Final Touches
- 1Make sure there are no low or high spots in your filler by taking a stroll all around surface of your final installation.
- 2Use a leaf blower to clear the area of debris.
- 3Give your grass an easy watering with an irrigation water hose so that any dust that has gathered from the infill may be eradicated from the lawn.
- 4You’ll have a spotless, organised surface to be proud of as a result.